Working with D3 Visualizations in Adobe Illustrator
D3 is an awesome tool to build interactive visualizations. I use it extensively for the initial stages of my research projects, but converting D3 charts from SVG to PDF and polishing them for publication can be a harrowing experience. This post describes a few techniques that make this process more pleasant. If you have any additional ideas, please leave a comment at the bottom of the post.
UPDATE: After I published this post, a couple of people pointed me to SVG Crowbar, a Chrome-specific bookmarklet that extracts an SVG from an HTML page and downloads it as a properly formatted SVG file (CSS styles included), which can be opened in Illustrator. The only shortcoming is that some CSS rules (like descendent rules: svg > text) crash Illustrator, so they are removed from the final SVG file. Still, it is a much simpler workflow than the one I present here. If you can’t use Chrome, or if you need all your CSS styles to remain unchanged, read on.
From SVG to PDF
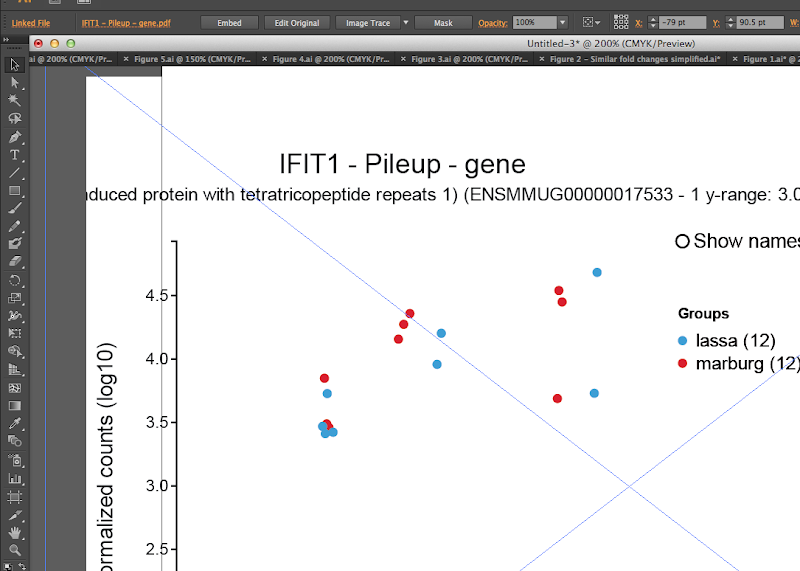
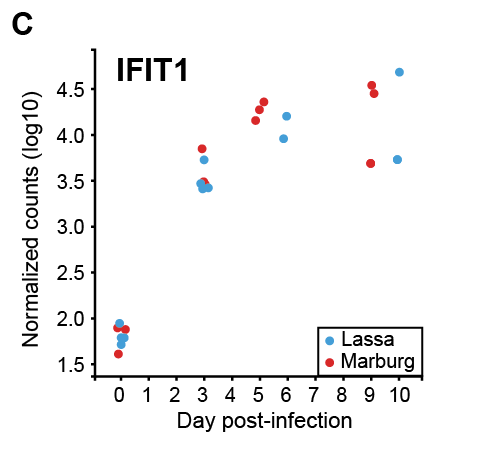
I usually create D3 visualizations through the Clickme R package. This one, for example, represents the amount of transcription that the IFIT1 gene experiences under two different types of viral infection. D3’s interactivity helps me narrow down the many charts that I generate during the data exploration process into the ones that will appear in the final scientific article.
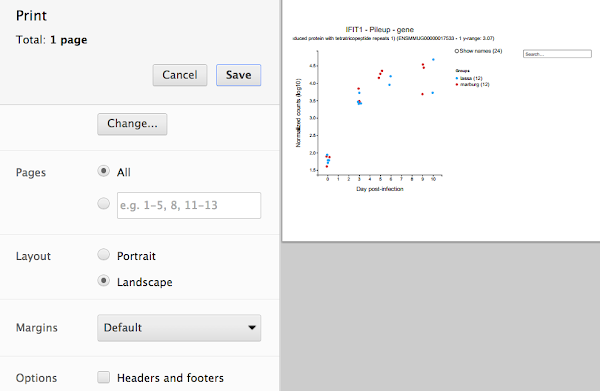
Once I select a chart that I want to convert to PDF, I open it in Chrome, I choose File | Print and save it as a PDF. I usually leave the Headers and footers option unchecked. If the chart spans more than one page, you can also scroll down and click the link Print using system dialog. From there, you can change the paper size and than choose PDF | Save as PDF...
From PDF to Illustrator
You can open the PDF directly in Illustrator, or you can create a new Illustrator document and drag the PDF into it. I usually use the second option because I want to see how the chart fits a letter-sized sheet of paper. If you use this option, the image will have a big X going through it, which is Illustrator’s way of telling you the image is a linked file. To be able to edit it properly you need to select it and press the Embed button in the Control toolbar (select Window | Control if you don’t see the button).
Once the file is embedded, open the Layers panel (Window | Layers) and click the triangle next to Layer 1. You’ll see a string of Groups, Clip Groups, and Clipping Paths going on to infinity. This is caused by the <g> SVG elements, which are really useful to manipulate SVGs with JavaScript, but a nightmare to work with in Illustrator. Getting rid of them will allow you to select individual paths and objects directly, and from there it is easy to set up your own groupings.
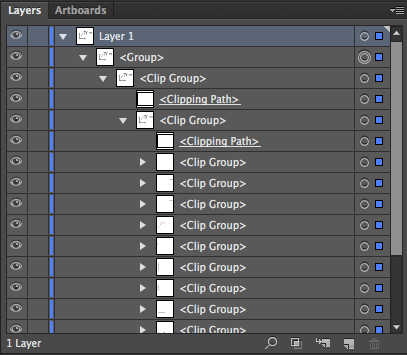
To get rid of the clip groups, select the entire layer by pressing on the circle at the right of Layer 1, and go to Object | Clipping Mask | Release or press Command Option 7. Do this until you get rid of all the clip groups. You may also ungroup objects using Object | Ungroup or pressing Command Shift G, and delete any remaining empty objects and paths. When you are done, you should have all the important objects without any groupings in Layer 1.
Fixing the text objects
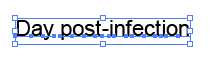
The biggest annoyance of printing an SVG as a PDF using Chrome is that the text objects get broken up into individual letters, which means you cannot change the font without messing everything up.
Fortunately, Justin Putney developed an Illustrator extension to merge individual text objects into a combined object.
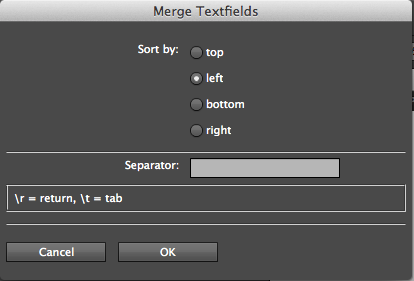
You can download it from his website or get my modified version if you want to save an extra click: my version has the default Sort by radio button changed to left instead of top (since 99% of the text I need to merge is written from left to right). Save the file in /Applications/Adobe Illustrator CS4/Presets/en_US/Scripts if you are on a Mac, or in C:\Program Files\Adobe\Adobe Illustrator CS4\Presets\en_US\Scripts if you are on Windows. That way, Illustrator will show the script under File | Scripts | MergeText_AI instead of File | Scripts | Other script...
Select the text objects you want to merge, go to File | Scripts | MergeText_AI, choose the order in which they should be merged (typically left) and press enter.
This is the final edited image:
Automating and troubleshooting
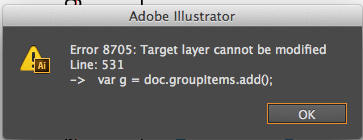
There are a few gotchas. The first is that all the layers in the current document must be visible and unlocked, otherwise you will get Error 8705: Target layer cannot be modified when you try to run MergeText_AI:
To get around this, I recommend selecting the objects you want to edit, pressing Command X, creating a new document, pasting the objects in place (Edit | Paste in Place) and doing all your editing there. Once you are done, you can paste in place again in the old document and get rid of the new one.
The other gotcha is that you can easily run MergeText_AI by assigning a shortcut, but you must reassign it every time you reopen Illustrator (apparently it is a long-standing Ai bug). If you do your editing in chunks, it is still worth it, though.
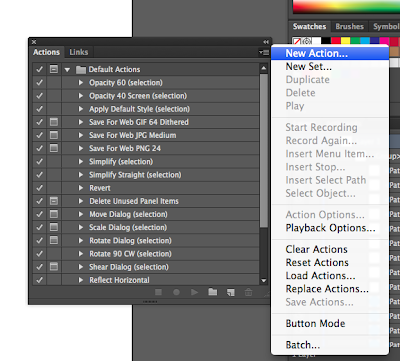
Here is how to do it. Go to Window|Actions, click on the panel menu (the top right corner, where the little down arrow next to the horizontal lines is), and press New Action, name it Merge text, choose a function key (for example, F2), and press Record. Press the panel menu again and choose Insert Menu Item, go to File | Scripts | MergeText_AI and press OK.
Now you should be able to select multiple text objects, press the function key, and see the MergeText_AI panel.
If you know of any improvements to this workflow, please share them in the comments.